Diy Dining Room Chair Seat Covers
Do you want to change the look of your kitchen or dining room chairs for $30 or less?
Reupholstering dining room chairs is a great project for beginners because it doesn't require many tools and no sewing is necessary. You can reupholster dining chairs by yourself, even if you aren't super handy. If you can use a stapler, you can do this one.

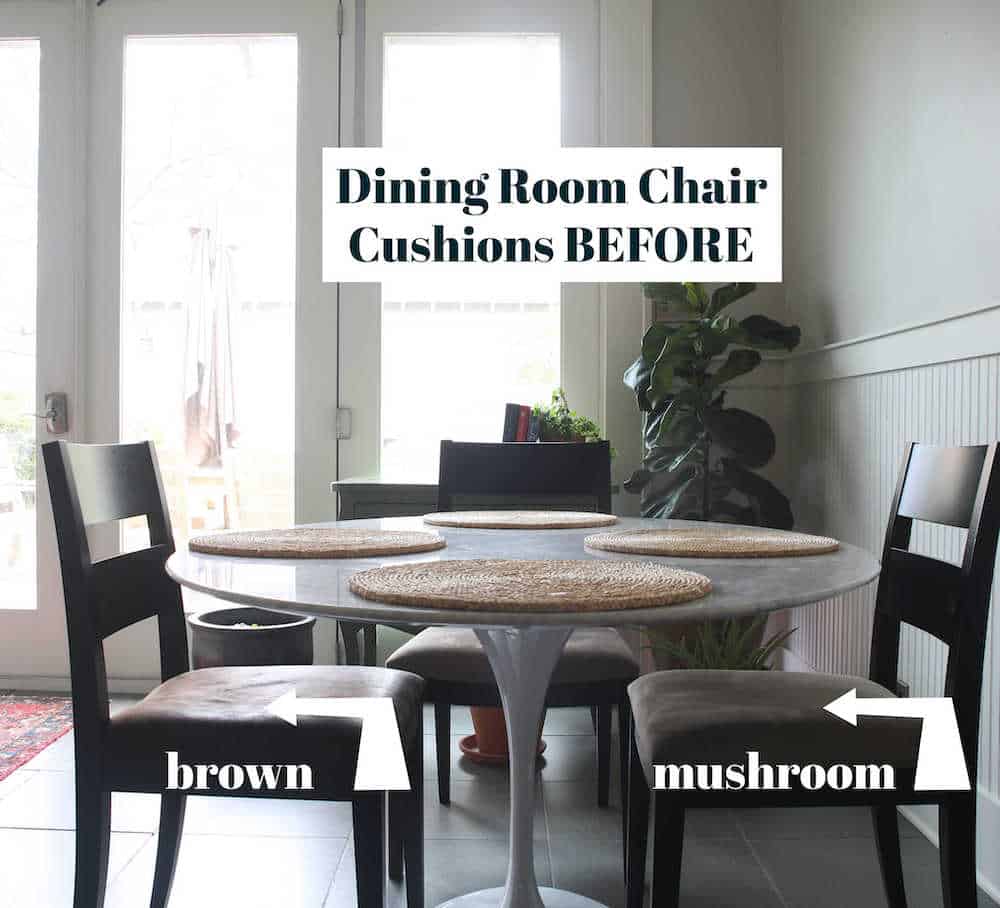
My dining room chair cushions were two different fabrics, which I would describe as dirty mushroom and brown. You can't tell but, I actually chose brown chair cushions twice in two different shades. What was I thinking?
Supplies Needed To Recover A Dining Chair Cushions
The biggest decision to make when recovering a chair cushion is what fabric to use. If the chair is going somewhere that gets dirty, like in a kitchen, you should consider fabrics that can be easily cleaned. They are called performance fabrics and there are lots of different manufacturers.
I chose a black and white Sunbrella fabric because Sunbrella fabrics stand up to a lot of abuse and they can be cleaned. There are many different "high performance" fabrics available that are good for places where easy clean up is required.
How much fabric do i need to reupholster dining chairs?
To determine how many yards of fabric to order you will first need to measure your seat cushion length and width and add 4 inches on each side. This should be enough extra fabric to wrap around the cushion and staple.
If your dining room cushions are very thick add a few extra inches. I was able to cover four chairs with two yards of fabric and my chair seats are 19 inches by 19 inches.
Other tools you will need are:
- Staple gun and staples
- Screw drivers (depending on your chairs, you may need both Phillips-head and regular flat head).
- Scissors
- Tape – I used regular scotch tape
- Hammer – you may not need this, but it depends on what your chairs are made of. I had to hammer the staples because the wood was so dense.
- Fabric – see my recommendations below
Steps to Reupholster dining chairs
If you're more of a video learner, check out this video first.
1.) Most dining room cushions are screwed into the chair base. Before you can recover the cushion you will need to remove the cushion from the chair. I like to turn my chairs upside down on the table to unscrew them.

2.) Remove the existing fabric, unless you are covering a light fabric with something much darker. For me this meant prying out 50+ staples with a screw driver and a pair of pliers. Your chairs may have a pressed wood seat. If so, you might feel like you are removing staples from cement. It can take much longer to remove the old fabric than it does to put on the new.
3.) Use the fabric you remove as a pattern for cutting out your new fabric. Lay your fabric on a flat surface and put the old seat cover on top of the new fabric so you know exactly how big to cut the new fabric. If the new fabric has a pattern, be sure the pattern is even and running the direction you want before you cut your fabric.
4.) Tape the fabric on your chair before you start stapling. This is a non-permanent way to make sure the pattern is straight. If your fabric is striped or floral (or has any type of pattern) you will want to make sure the stripes look straight or that the pattern repeat looks right prior to stapling. The tape doesn't need to be anything that will be long lasting, it is just a guide before you start stapling.

5.) Staple the fabric to the chair. It works well to have two people because one person can pull the fabric tight and one person can staple. The staples on my chair would not go all the way into the wood, so I had to hammer some of them in all the way. Put two staples minimum on each side first and then go back around and add one every few inches.
Corners are the tricky area. You may need to cut away some excess fabric on the corners to get them to lay flat. It's similar to wrapping a package. There is no one right way to do it, just keep pulling and folding and staple when you get it into a position you like.
6.) Screw the cushions back into the chair base. If your chairs are like mine, label each cushion and base before you start so you attach the right cushion to the right chair base. The screw holes in my chairs were in different places from one chair to the next. There was no uniformity. Unfortunately, I didn't mark them so there was no way to tell which cushion belonged on which chair base.

I am blogger with a 9to5 job. I like to work on my home on the weekends, one piece at a time. I like to research and noodle over rugs, lights, furniture, art and more. I want to share what I learn about how to decorate like a pro.
Diy Dining Room Chair Seat Covers
Source: https://www.designmorsels.com/how-to-reupholster-dining-chair-cushions-fast/
